HRIS (Human Resource Information System)
The HRIS module is your central repository for all employee information. It maintains comprehensive records of your workforce including personal details, employment history, compensation, and benefits.
Overview
HRIS manages:
- Employee personal information
- Employment records and history
- Compensation and benefits
- Documents and attachments
- Emergency contacts
- Skills and qualifications
Accessing HRIS
- Navigate to Manpower in the sidebar
- Click HRIS
Main Interface
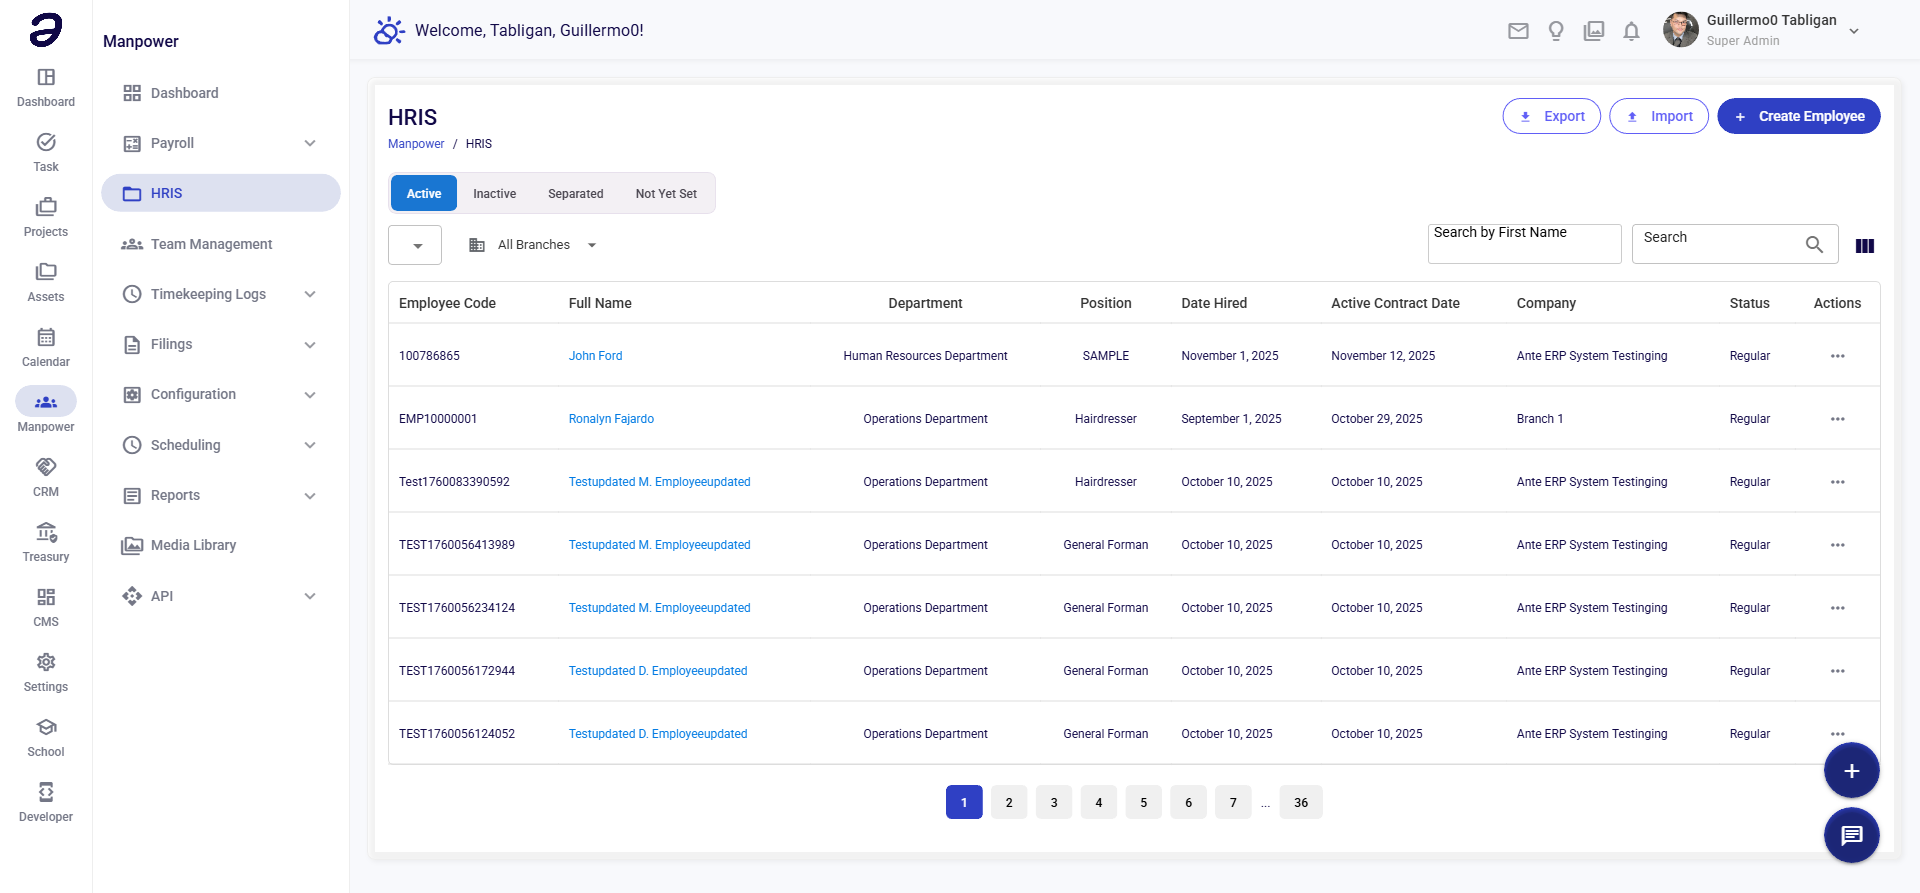
Employee List View
The main screen displays all employees in a grid with:
- Employee photo/avatar
- Full name and employee ID
- Position/Job title
- Department
- Employment status (Active, Inactive, Resigned)
- Quick actions (View, Edit, Documents)
Search and Filter Options
Search Bar: Type employee name, ID, or position
Filters:
- Status: Active, Inactive, On Leave, Resigned
- Department: Filter by department/team
- Position: Filter by job title
- Employment Type: Regular, Probationary, Contractual
- Location: Filter by branch/office
Adding New Employees
Step 1: Click "Add New Employee"
Step 2: Personal Information Tab
Fill in required fields (marked with *):
Basic Information:
- First Name*
- Middle Name
- Last Name*
- Suffix (Jr., Sr., III)
- Nickname (for ID badges)
Contact Details:
- Mobile Number*
- Email Address*
- Personal Email
- Present Address*
- Permanent Address
- City/Province
- Zip Code
Personal Details:
- Date of Birth*
- Place of Birth
- Gender*
- Civil Status* (Single, Married, Widowed, Separated)
- Nationality*
- Religion
- Blood Type
Step 3: Employment Information Tab
Job Details:
- Employee ID* (auto-generated or manual)
- Biometric ID (for time keeping device)
- Position/Job Title*
- Department*
- Immediate Supervisor*
- Employment Status* (Regular, Probationary, etc.)
- Employment Type* (Full-time, Part-time)
Important Dates:
- Date Hired*
- Date Regularized (if applicable)
- Contract End Date (for contractual)
- Probation End Date (for probationary)
Work Location:
- Branch/Office*
- Work Station
- Cost Center
Step 4: Compensation & Benefits Tab
Salary Information:
- Basic Salary* (monthly rate)
- Daily Rate (computed or manual)
- Hourly Rate (computed or manual)
- Payment Method (Bank/Cash)
- Payment Frequency (Monthly, Semi-monthly, Weekly)
Allowances:
- Transportation Allowance
- Meal Allowance
- Communication Allowance
- Other Allowances
Bank Details:
- Bank Name
- Account Number
- Account Name
- Branch
Step 5: Government Numbers Tab
Enter government-mandated IDs:
- SSS Number*
- TIN (Tax Identification)*
- PhilHealth Number*
- Pag-IBIG Number*
Tax Status:
- Tax Code (S, ME, ME1, ME2, etc.)
- Number of Dependents
Step 6: Emergency Contact Tab
Add at least one emergency contact:
- Contact Name*
- Relationship*
- Contact Number*
- Address
Click Add Another Contact for additional contacts.
Step 7: Documents Tab
Upload required documents:
- Resume/CV
- Valid IDs (at least 2)
- Birth Certificate
- NBI/Police Clearance
- Medical Certificate
- Diploma/Transcript
- Certificates/Training
For each document:
- Click Upload Document
- Select file (PDF, JPG, PNG)
- Select document type
- Add description
- Click Save
Step 8: Save Employee Record
- Review all information
- Click Save as Draft to save and continue later
- Or click Save & Activate to make employee active
- System will validate required fields
- Fix any errors highlighted in red
- Click Confirm to save
Viewing Employee Information
Quick View
- Click on employee name in the list
- A side panel opens with summary information
- Click View Full Profile for complete details
Full Profile View
Shows comprehensive employee information:
- Personal details with photo
- Employment timeline
- Current assignments
- Salary history
- Leave balances
- Documents
- Notes and comments
Editing Employee Information
- Find the employee in the list
- Click Edit button or click name then Edit Profile
- Navigate through tabs to find information to update
- Make necessary changes
- Click Save Changes
- System logs all changes with timestamp and user
Employee Status Management
Changing Employment Status
For Resignation:
- Open employee profile
- Click Update Status
- Select Resigned
- Enter last day of work
- Add reason for leaving
- Attach resignation letter
- Click Process
For Termination:
- Similar to resignation
- Select Terminated
- Enter termination date
- Select termination reason
- Attach supporting documents
- Click Process
For Leave of Absence:
- Select On Leave
- Enter leave period
- Select leave type
- Attach documents
- Click Process
Rehiring Former Employees
- Click Rehire Employee
- Search for former employee
- System retrieves previous information
- Update necessary fields
- Enter new hire date
- Click Rehire
Bulk Operations
Importing Multiple Employees
- Click Import Employees
- Download template file
- Fill in employee data in Excel
- Click Upload File
- System validates data
- Review validation results
- Fix any errors
- Click Import
Bulk Updates
- Select employees using checkboxes
- Click Bulk Update
- Choose fields to update:
- Department
- Supervisor
- Salary adjustment
- Status change
- Enter new values
- Click Apply Changes
Employee Documents
Document Management
Viewing Documents:
- Go to employee profile
- Click Documents tab
- Click on any document to view
- Download option available
Document Expiry Tracking:
- System tracks document expiry dates
- Alerts for expiring documents (licenses, clearances)
- Dashboard shows upcoming expirations
Reports
Generate Employee Reports
Click Reports button
Select report type:
- Employee Master List
- Birthday List
- Employment Anniversary
- Contract Expiration
- Headcount Report
- Turnover Analysis
Set filters if needed
Choose format (PDF, Excel)
Click Generate
Employee Directory
- Click Print Directory
- Select information to include
- Choose layout (with/without photos)
- Click Generate PDF
Data Privacy and Security
Access Control
- Only authorized HR personnel can view full details
- Managers see only their team members
- Employees see only their own information
Audit Trail
All changes are logged:
- Who made the change
- When it was made
- What was changed
- Previous value
Data Protection
- Sensitive information is encrypted
- Documents are stored securely
- Regular backups are maintained
Best Practices
✅ DO:
- Keep employee information updated
- Verify government IDs are correct
- Maintain complete documentation
- Regular data audits
- Update emergency contacts annually
- Archive resigned employee records properly
❌ DON'T:
- Share employee information unnecessarily
- Delete employee records (archive instead)
- Use dummy data for government IDs
- Skip document verification
- Allow outdated information to persist
- Grant excessive access permissions
Troubleshooting
Cannot Save Employee
- Check all required fields are filled
- Verify employee ID is unique
- Ensure valid email format
- Check government ID formats
Documents Won't Upload
- Check file size (max 5MB)
- Verify file format (PDF, JPG, PNG)
- Ensure stable internet connection
- Try different browser
Missing Employee in List
- Check filter settings
- Verify employment status
- Ensure you have permission to view
- Try searching by employee ID
Quick Tips
💡 Time Savers:
- Use employee templates for similar positions
- Set up default values for common fields
- Create document checklists per position
- Use bulk import for multiple hires
- Set reminders for document expiration
Related Topics
- Payroll Group - Assign salary structures
- Team Management - Organize departments
- Individual Scheduling - Assign work schedules
- Payroll Center - Process salaries
📌 Remember: HRIS is the foundation of your payroll system. Accurate employee information ensures correct salary computation and government remittances.